All students
For managing students, you can easily use feKara. On interface, in the label of “students”, you will find three options.
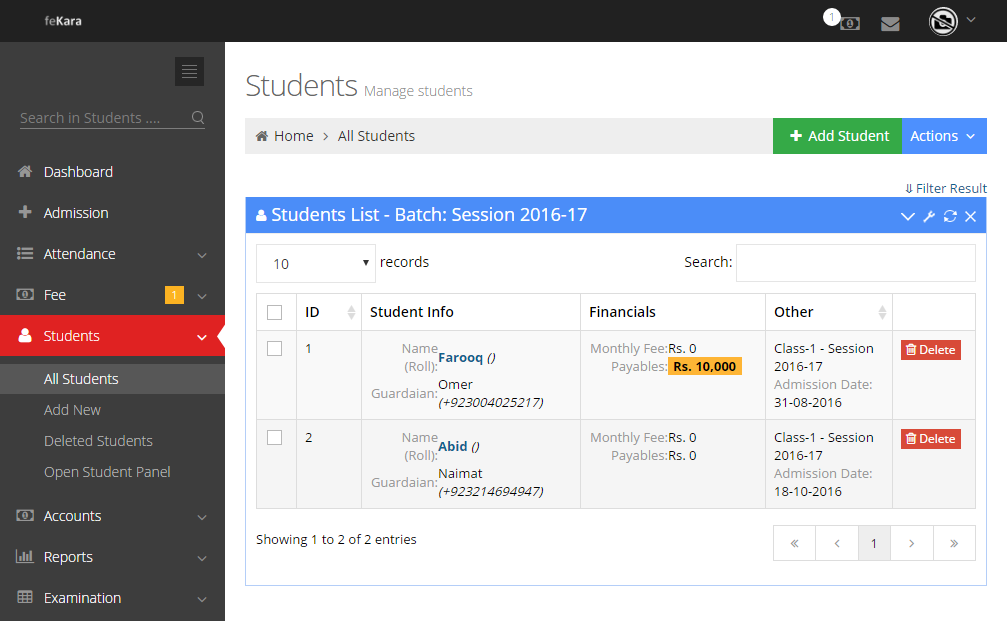
- Select “Students”

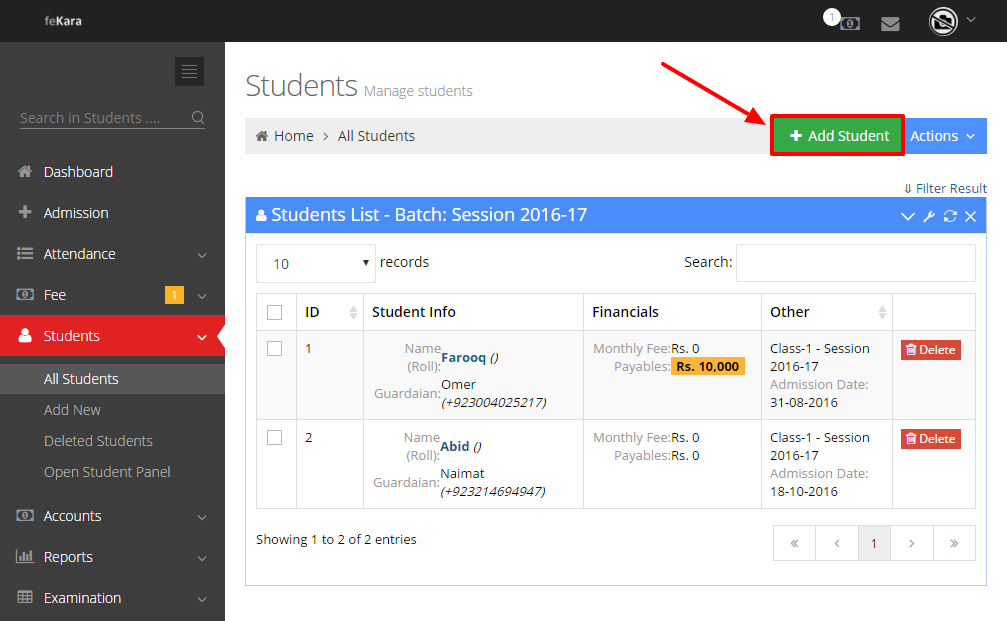
- Click on “all students” for managing your all entries of students

- Following interface will appear
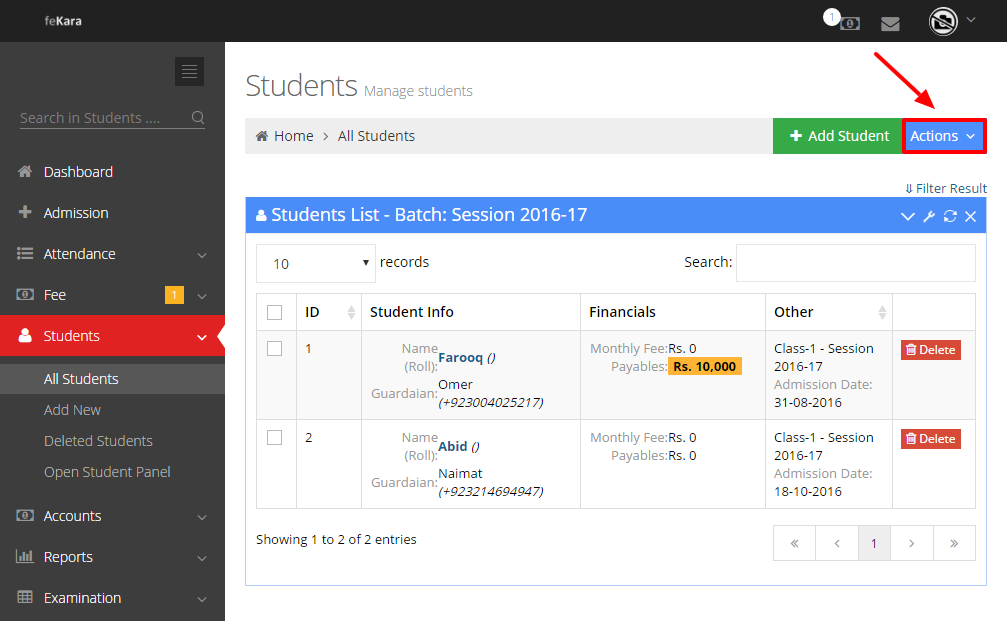
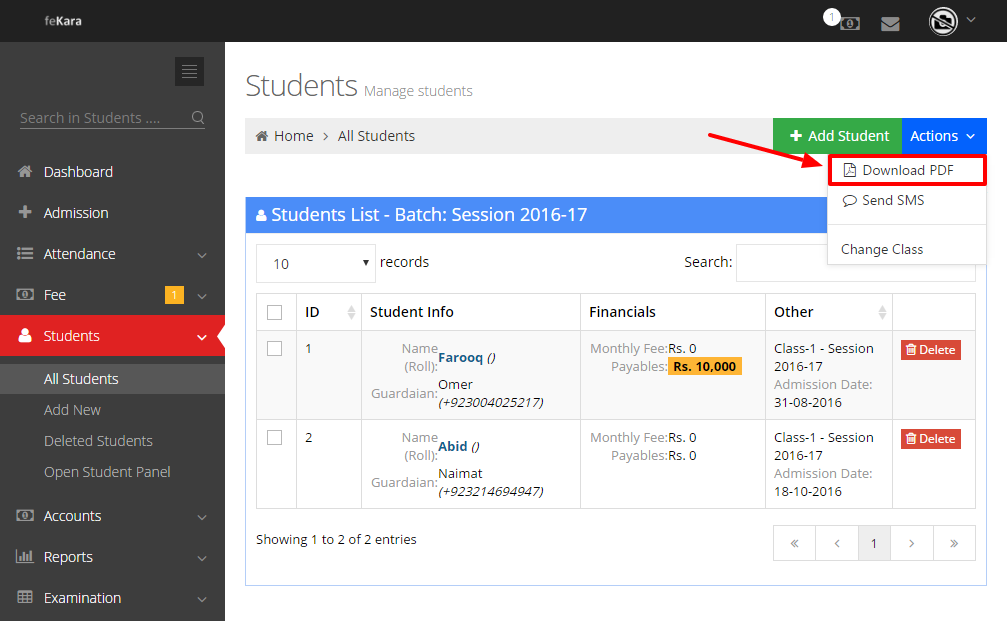
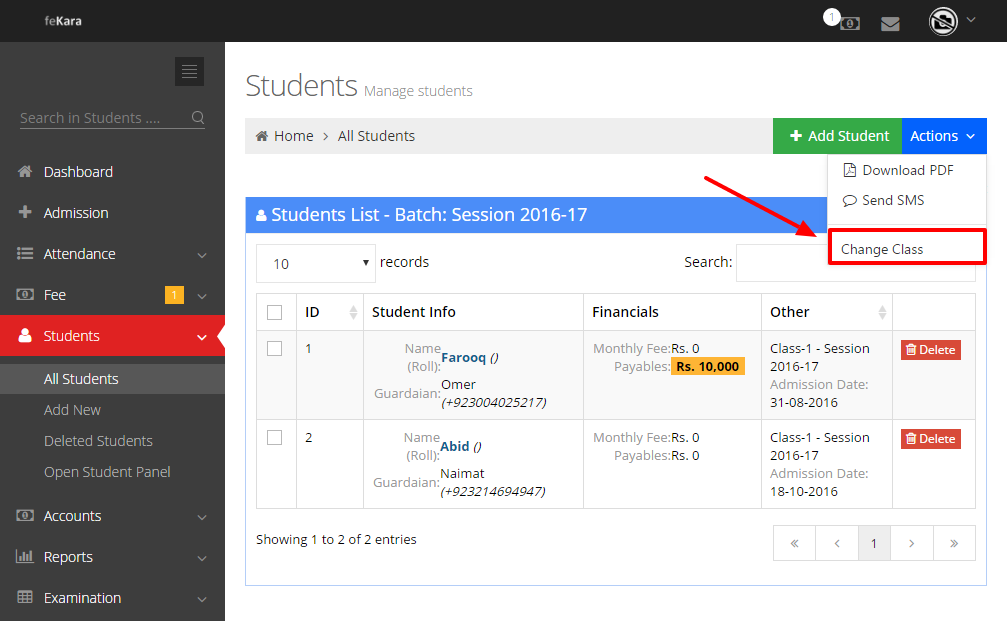
- Click “actions”
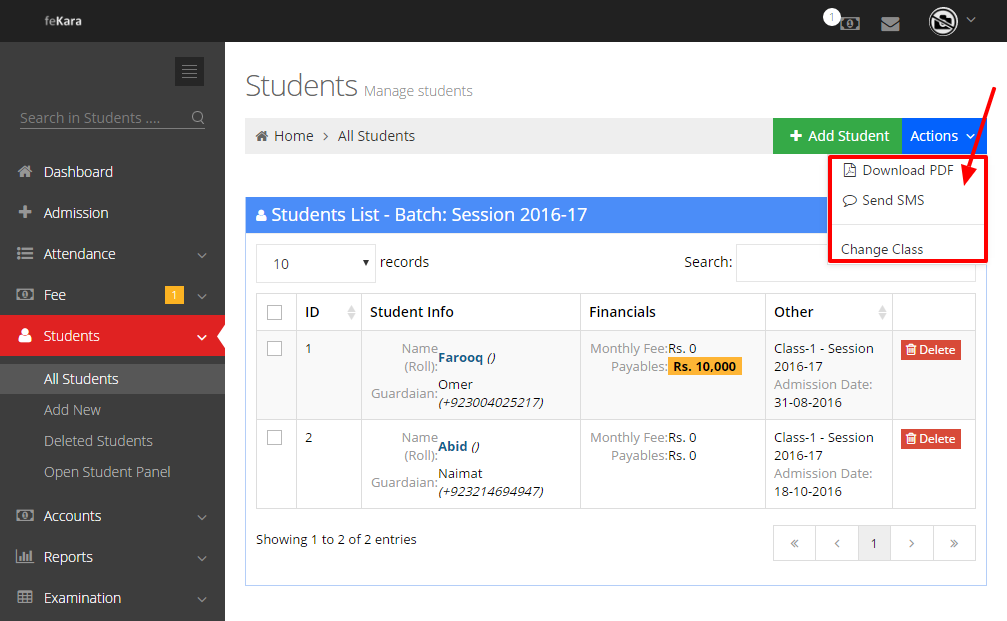
- You will see three options : Download PDF, send SMS and change class
If you want to download, then click Download PDF. Your data will be downloaded
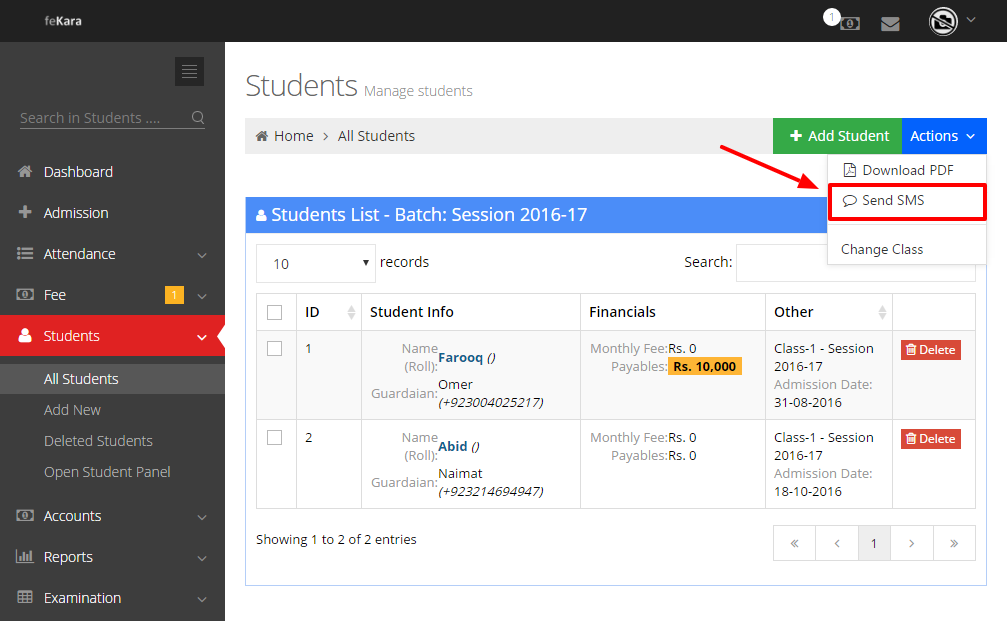
- For sending SMS, select “send SMS” from actions
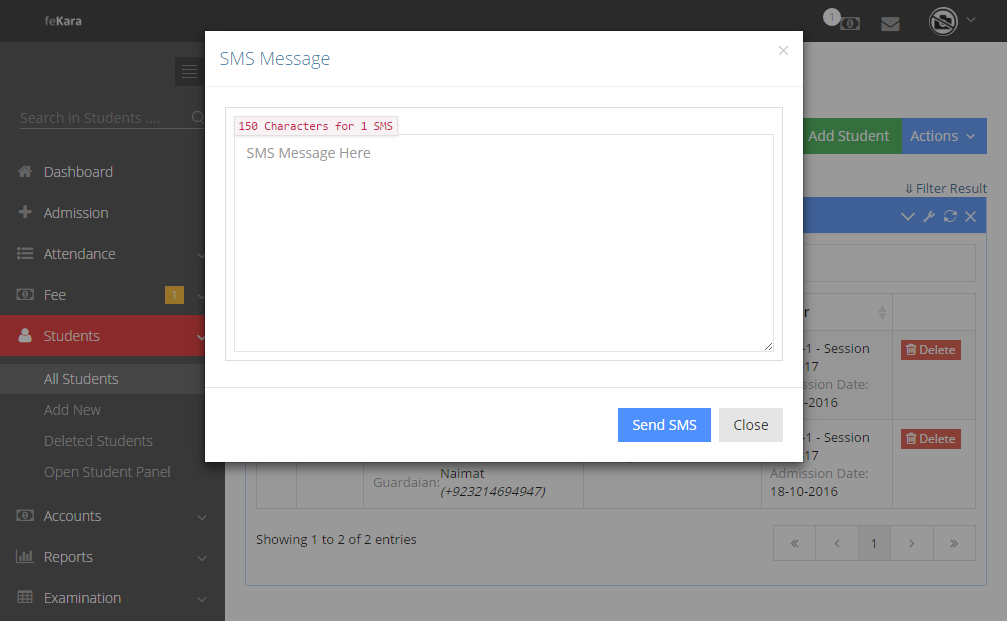
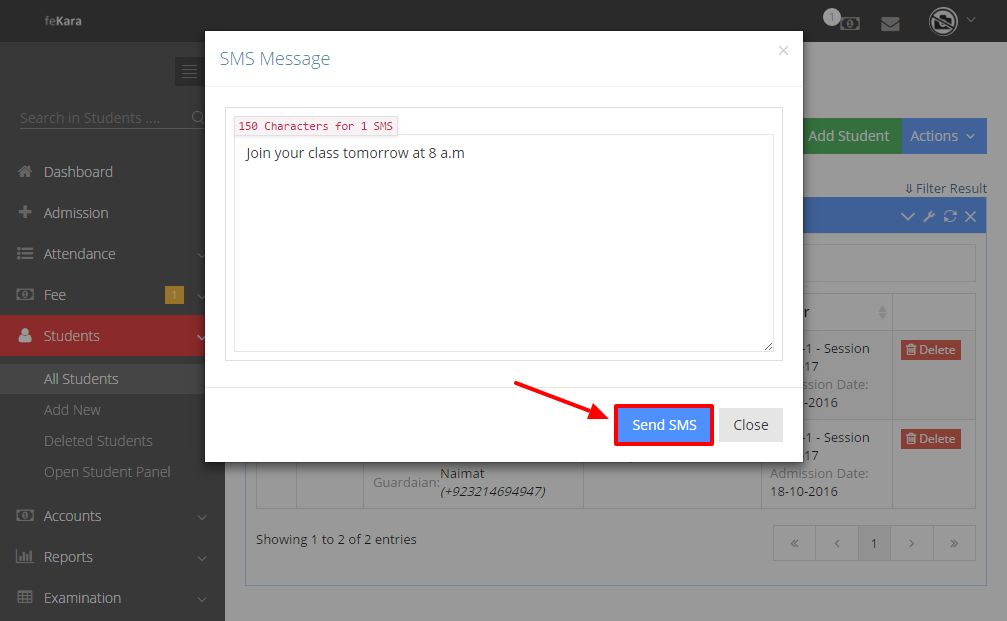
- Following interface will appear. Type your message
- Click “send” and your message will be delivered to your entire list of students
- You can also change class of any student very easily.
- For this, select the student/s from your list
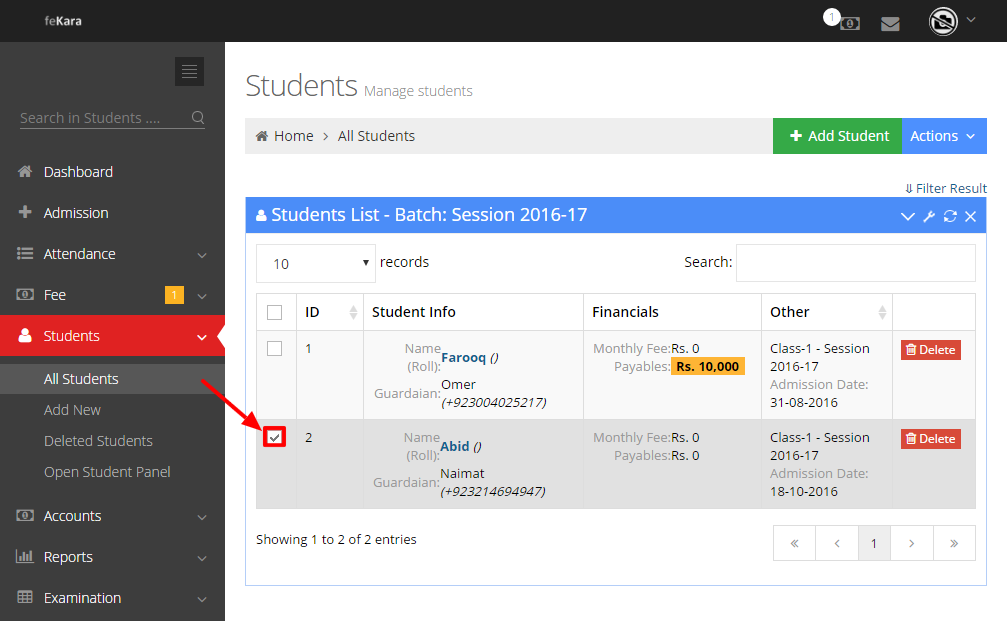
- Go to actions and select change class
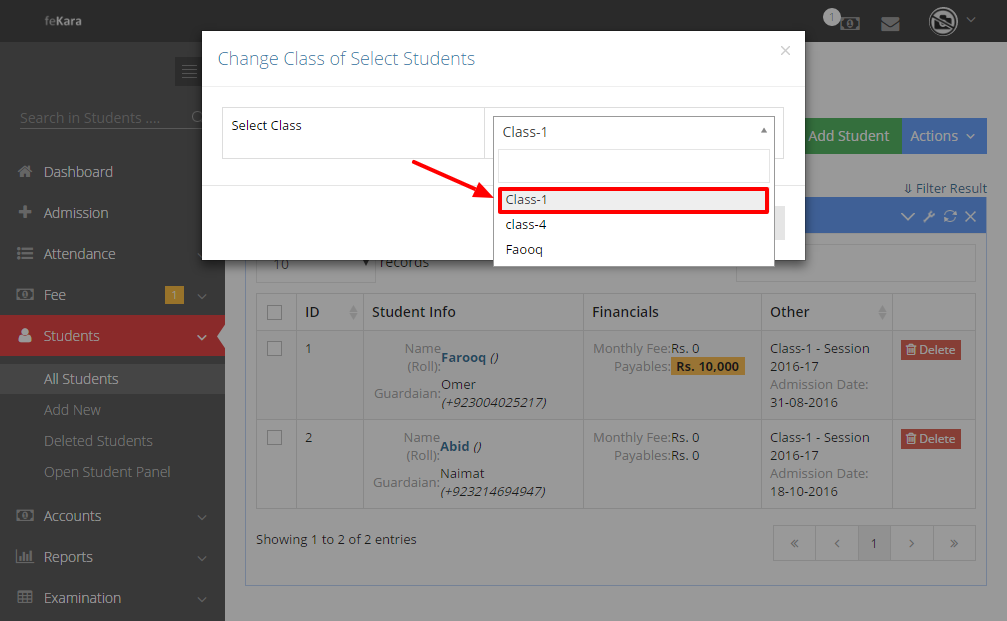
- Select class from available classes
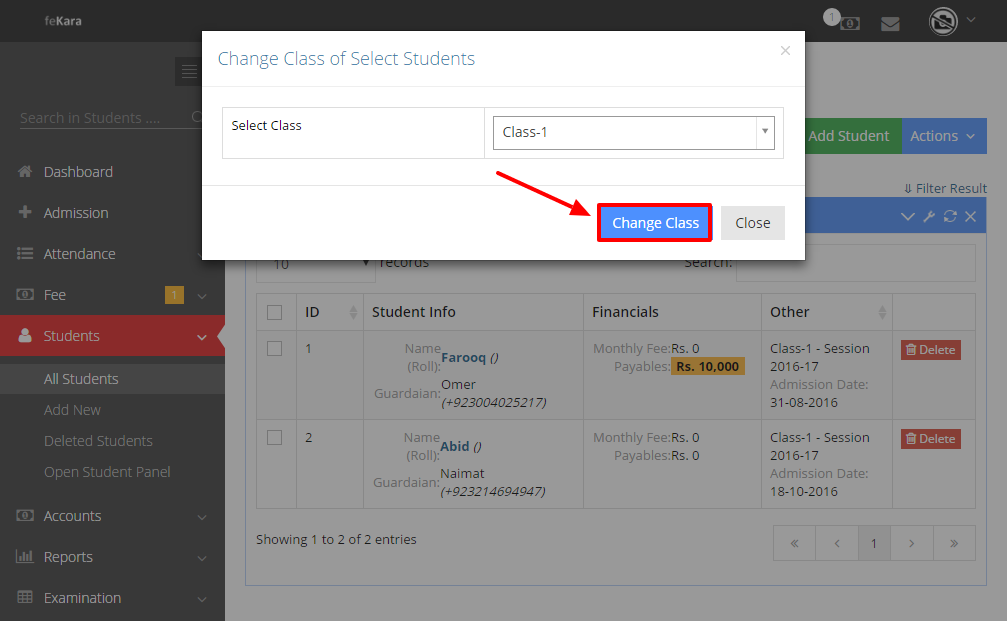
- Click “change” and the class will be changed
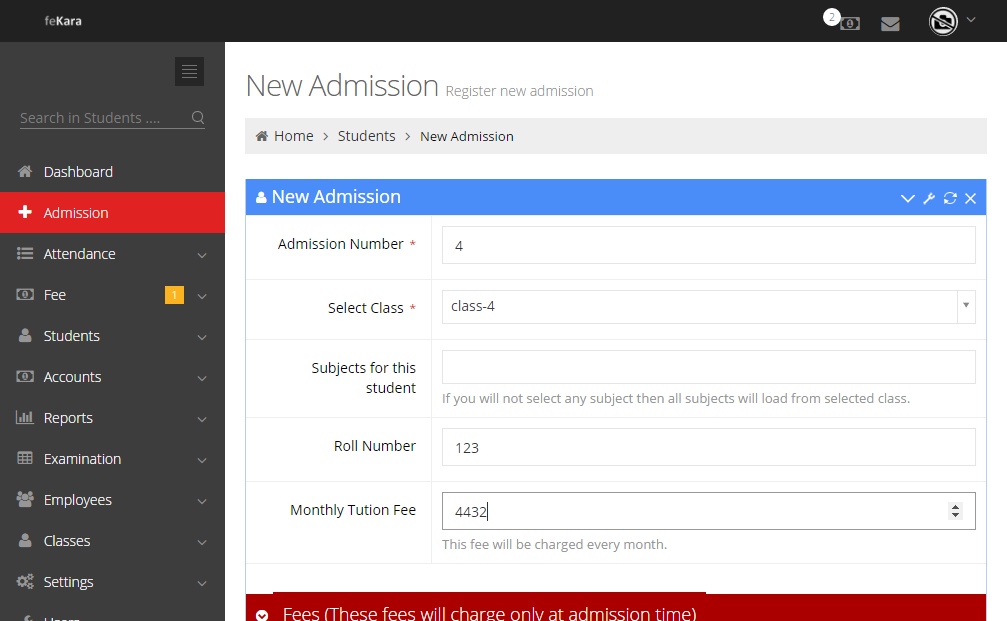
- You can also add a new student
- For this click on “Add student”
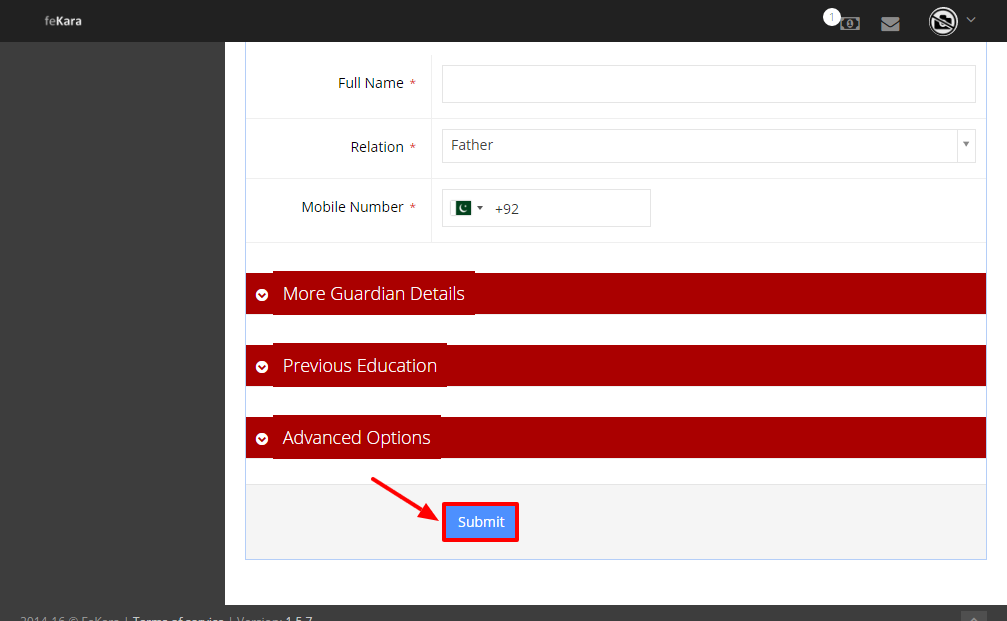
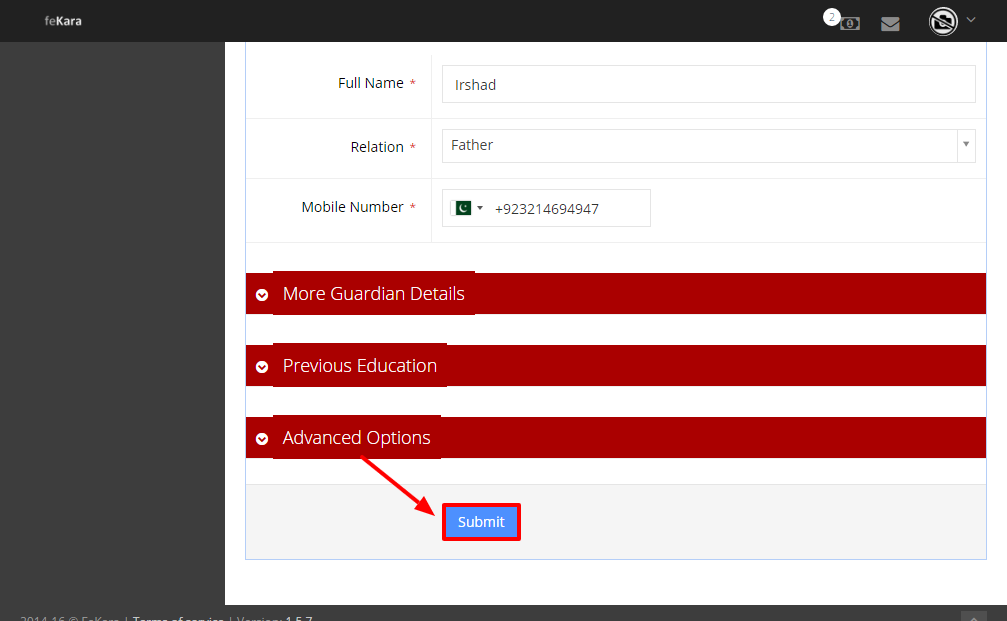
- Now you can make new admission by entering all the details of student

- After completing the details, click “submit”
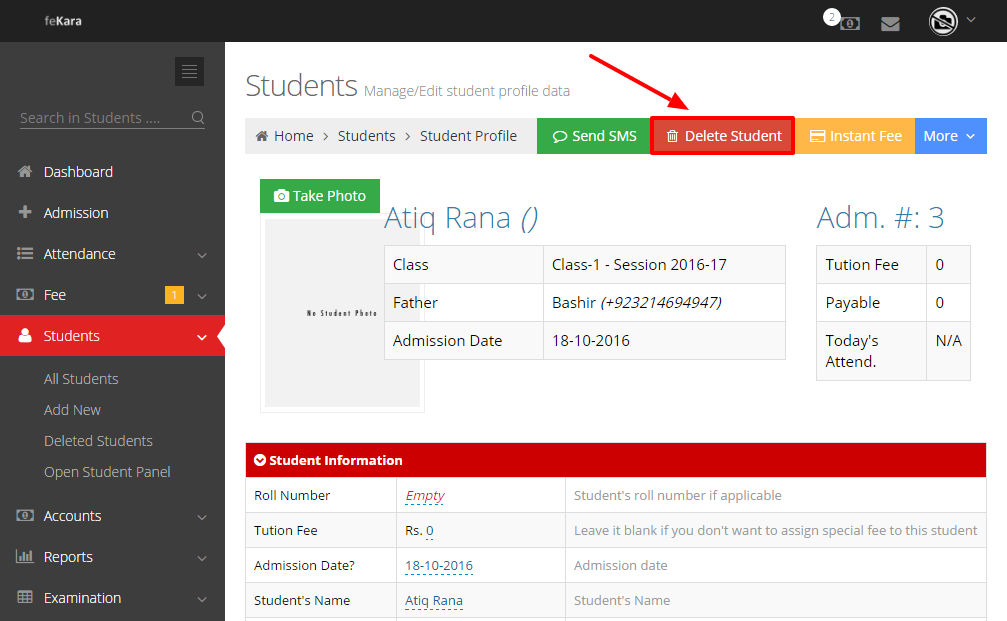
- New admission will be made and you will be able to see complete profile of this student now
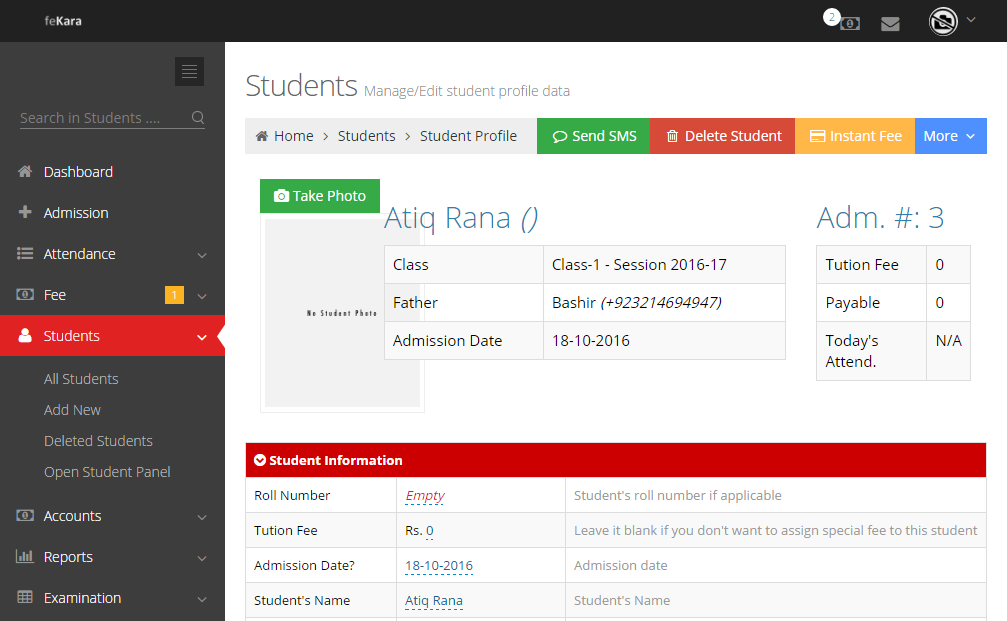
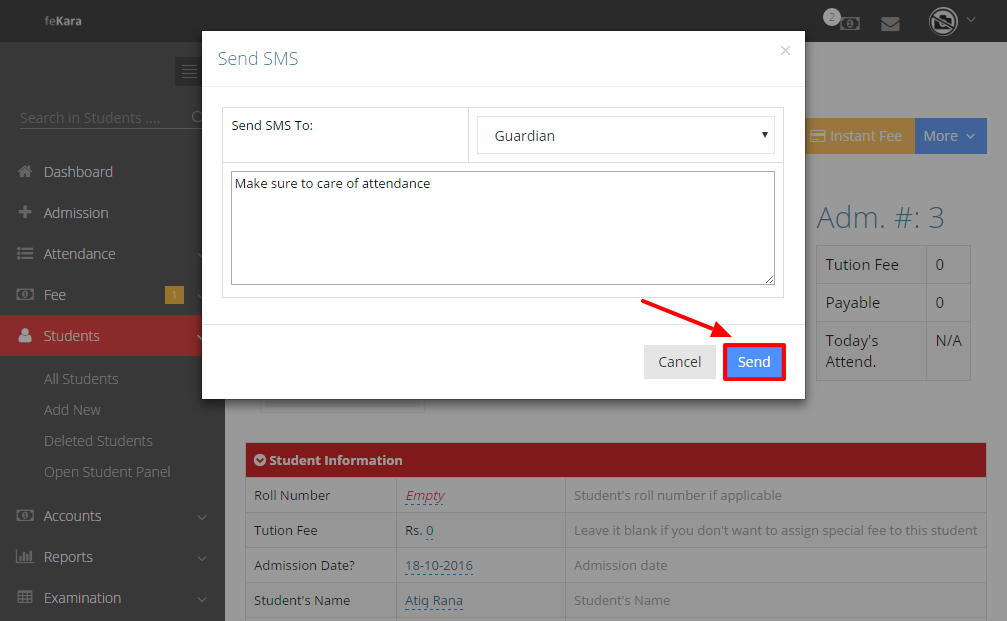
- Now you can perform various functions for this admission. For sending message, select “send SMS”

- Type your message and click “send”. Your message will be delivered
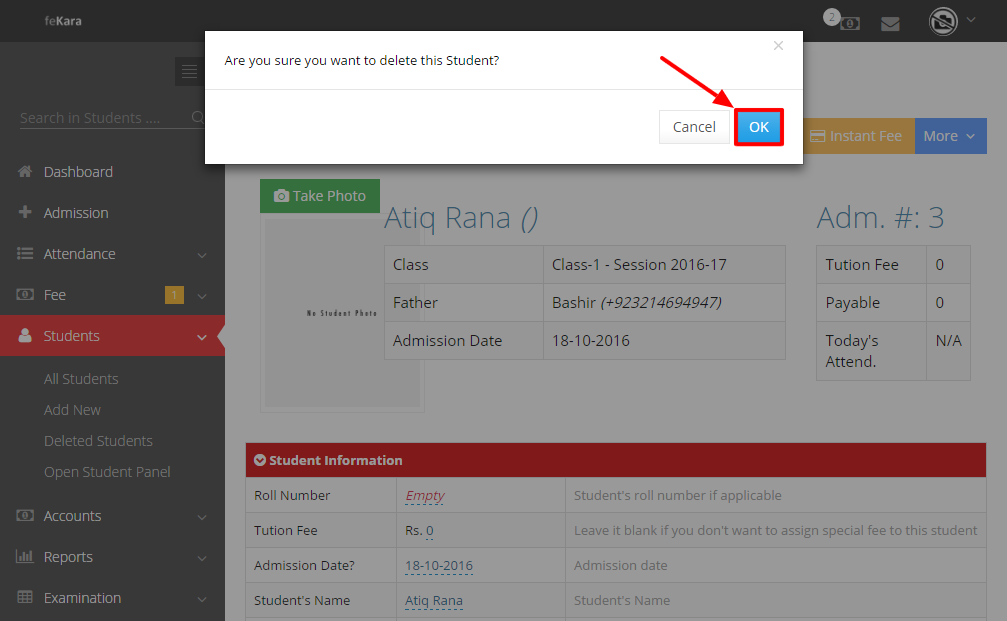
- For deleting this entry, select “delete”
- Now click “OK” and this entry will be deleted
- For fee payment of this, click “instant fee”

- Add details like amount, fee title, date and receipt number. Now select “pay”
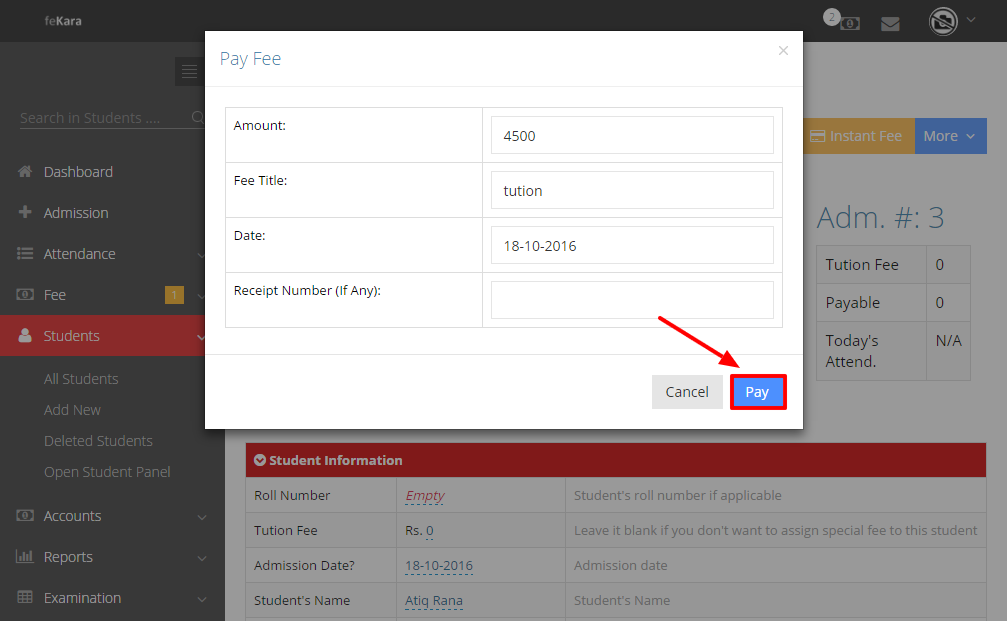
- Fee status will turn as “paid”
- You can perform some other functions like viewing payment history and sending email.
- Select “more”
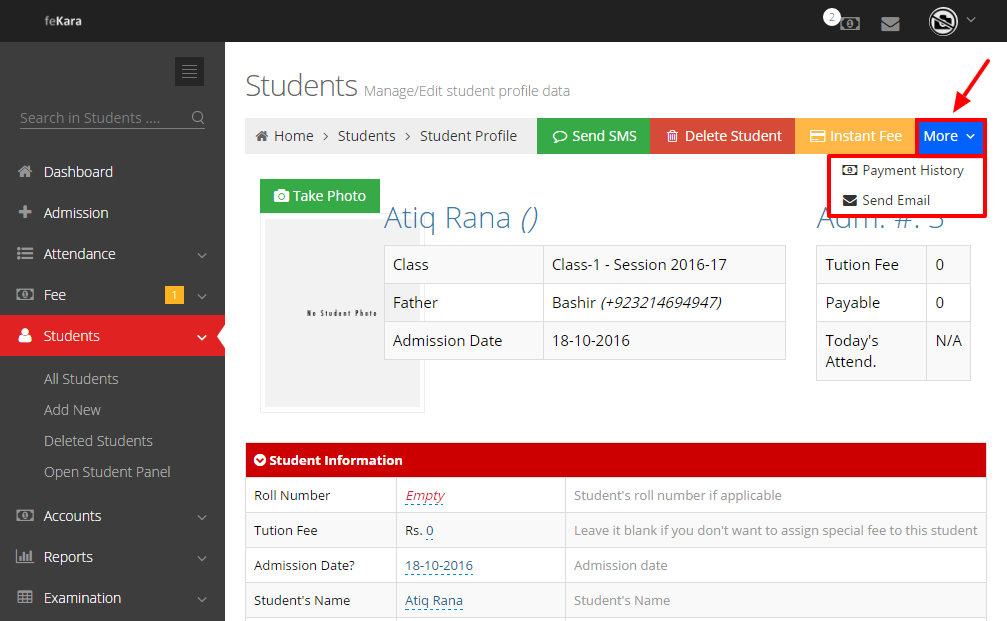
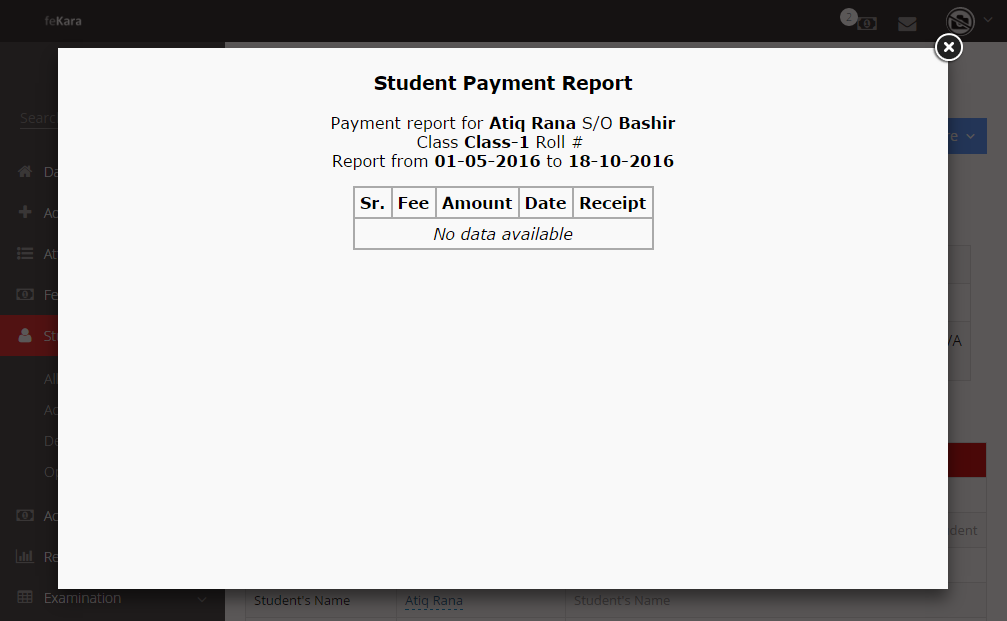
- For knowing the history of payment, select “payment history”

- You can view previous payment details (if any)
- For sending email to guardian or the student, select “Send email”

- Select guardian or student as recipient

- Add details and click “send”

Add new
- For adding new student you can also take a direct step
- Select “add student”

- Add details to new admission
- Submit these details by clicking “submit”
- New admission will be made
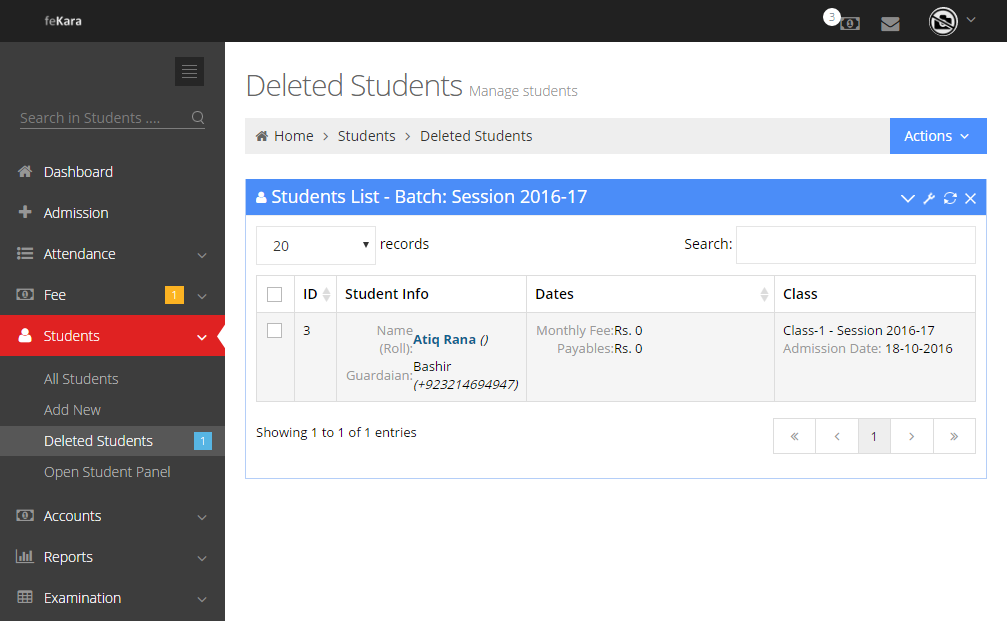
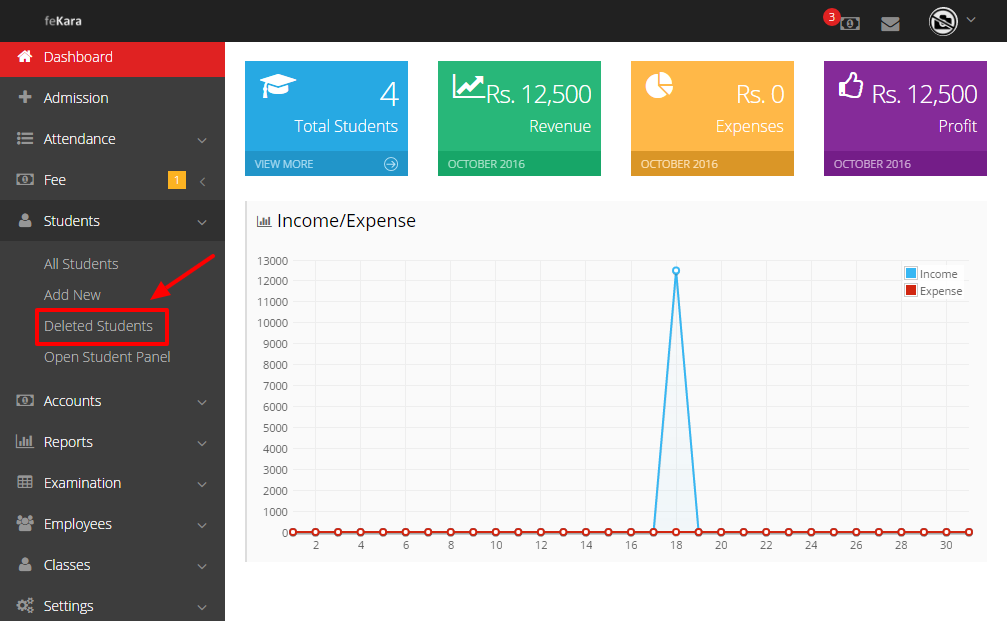
Deleted Students
- For viewing the students who have been deleted by you, select “deleted students”
- You will be able to view deleted student/s (if any)