Settings for feKara
It is very essential to do some basic settings before you start using it. This is important because the software requires some basic information of your institute in order to perform different functions. You can easily add this info. By following the instructions given below.
Go to settings
When you login for the first time with your own URL, username and password then following interface will be shown.
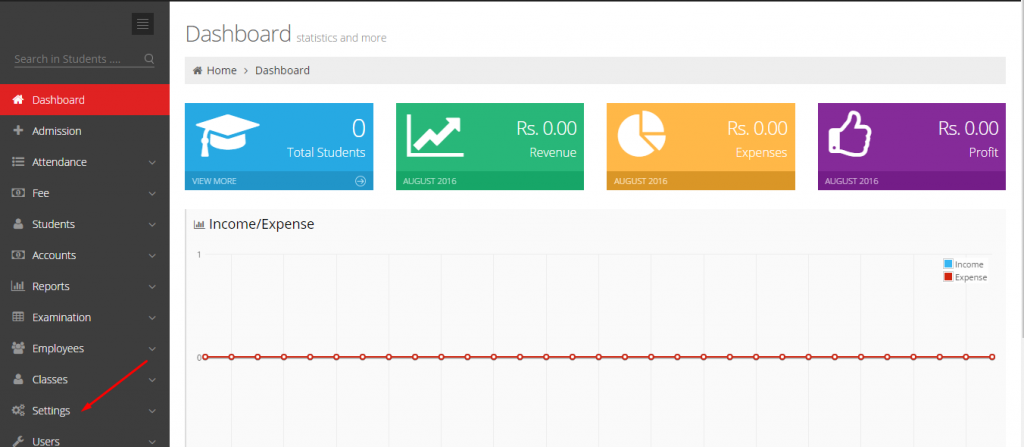
- click on to “settings” as shown by the arrow.
- this will give you an entire list of different labels like batches, classes, subjects, etc.
- you can add all the preliminary information in feKara through settings.
Add currency
First of all, you need to add currency in which you will be generating revenues, measuring expenses and issuing invoices for fee. this is very important step.
- you will do this by clicking “settings”
- then select “general”
- here you will find “currency and date settings”
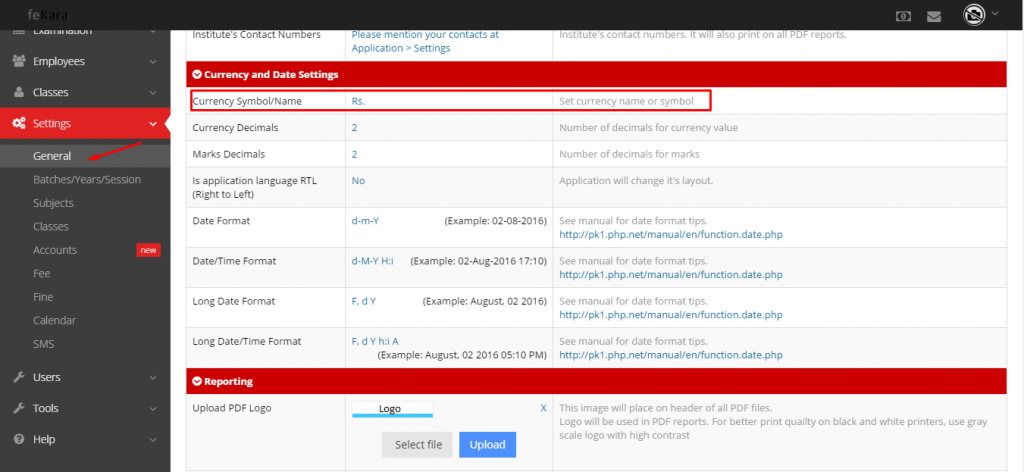
- select currency name and symbol as highlighted by box.
- now add your desired currency here.
Select your academic sessions/batches
After selection of currency you need to add batch/es of your institute. there will b only one active batch/session in which new admissions will be made. However, you can add old batches with their complete data of classes, subjects and students in details. This selection of batch will allow you to add classes, subjects and students in the current academic session.
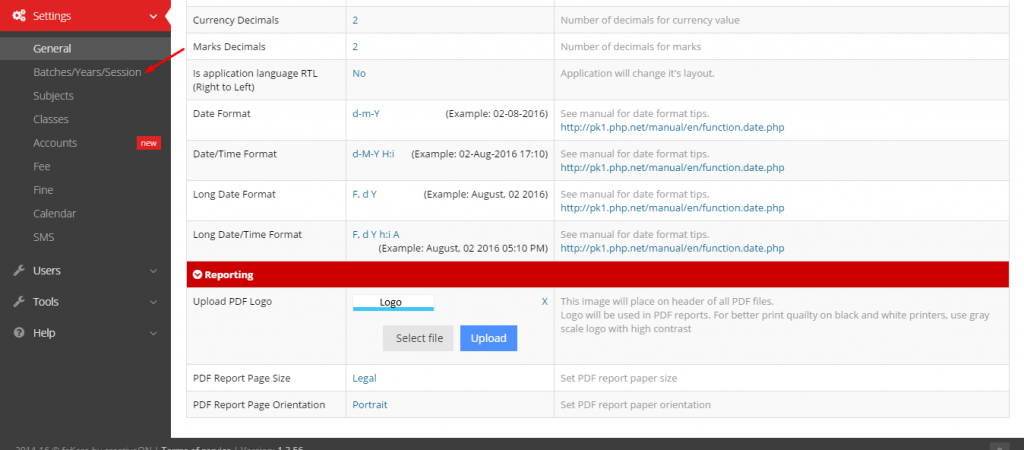
- for this, click on settings.
- select “Batch.year,session” as shown below
- now you will click on “add batch”
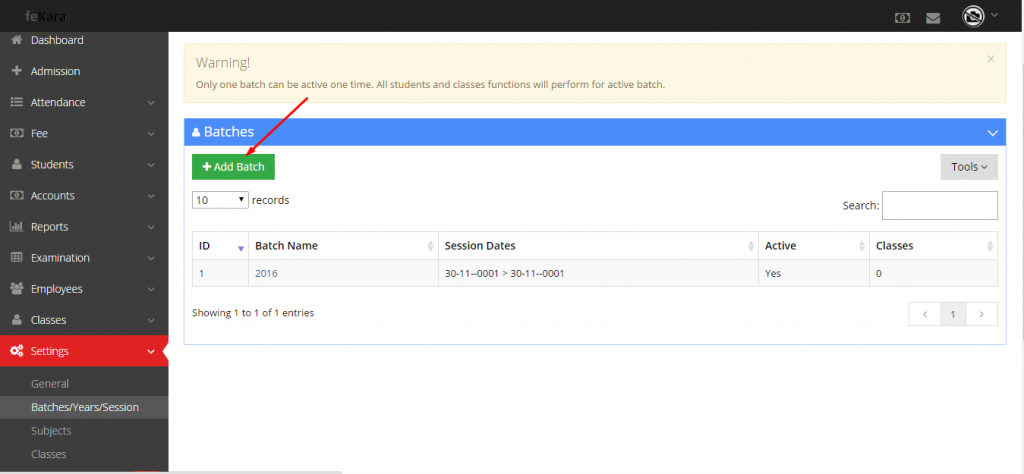
- then you will add info of that batch : name,date,etc
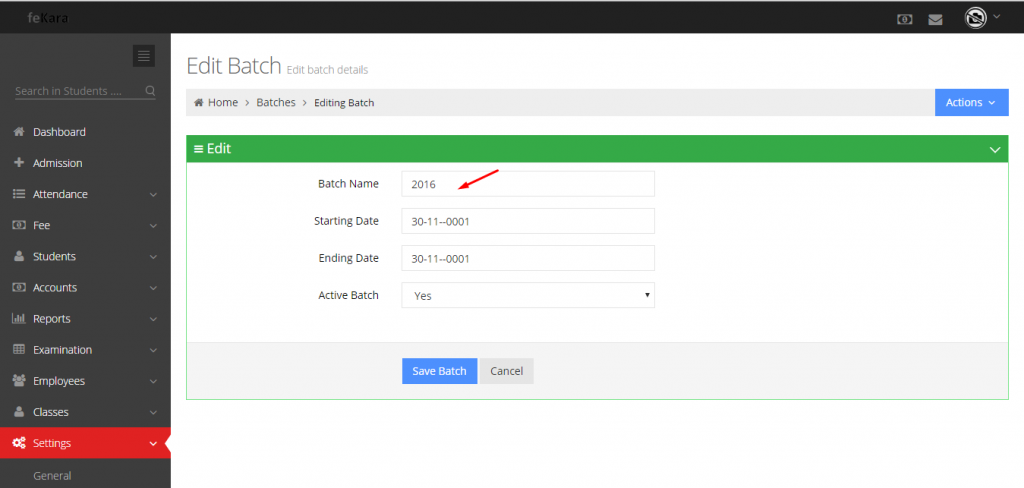
- mark it active (if it is your current one)
- then click on “save batch”
- batch will be added on your list.
Add subjects being taught in your institute
Now it is the time to add the subjects in feKara. You need to add all the subjects that are being taught in your institute. This should include all the subjects irrespective of the class differences. This step is needed because you will be able to pick only entered subjects for adding to a particular class. Follow these simple steps for accomplishing subject addition.
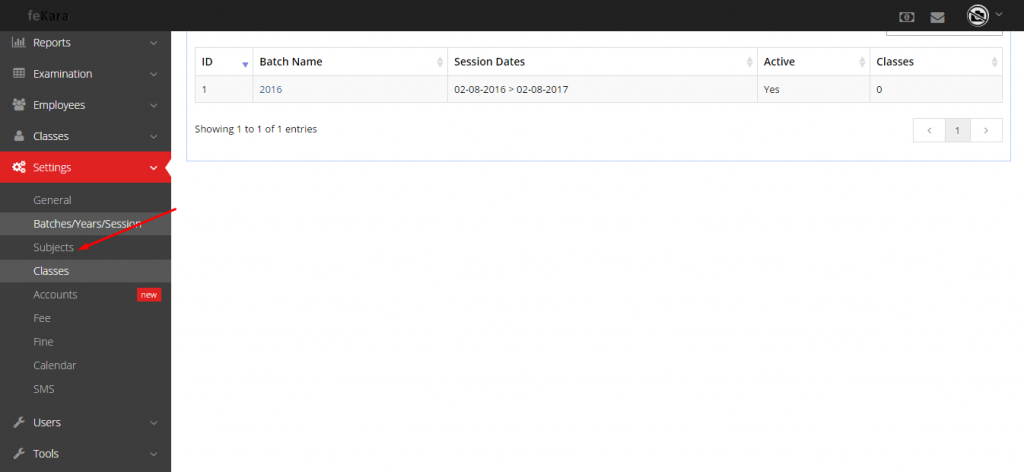
- click on to “settings”
- then select “subjects”
- add the details(name,short name) of the subject in the highlighted space.
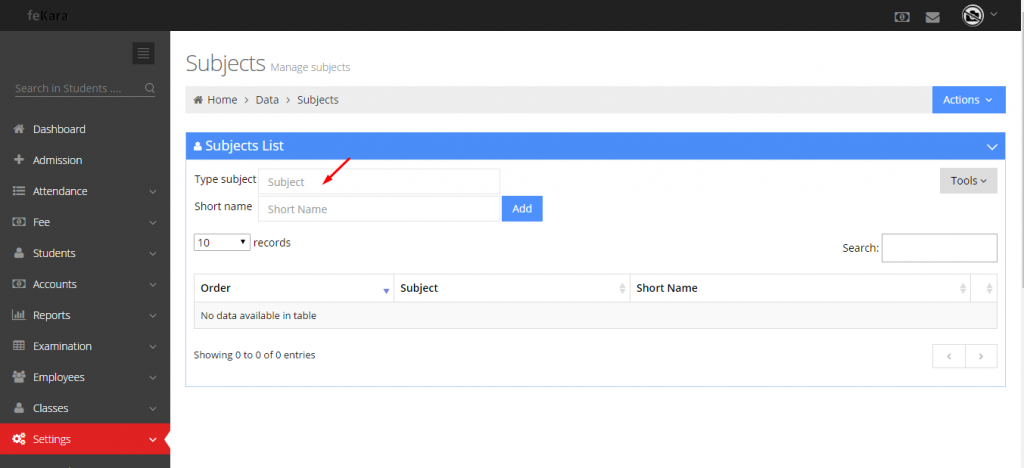
- click “add”. the subject will be saved.
- repeat the process for adding multiple subjects.
- make sure you enter all the subjects.
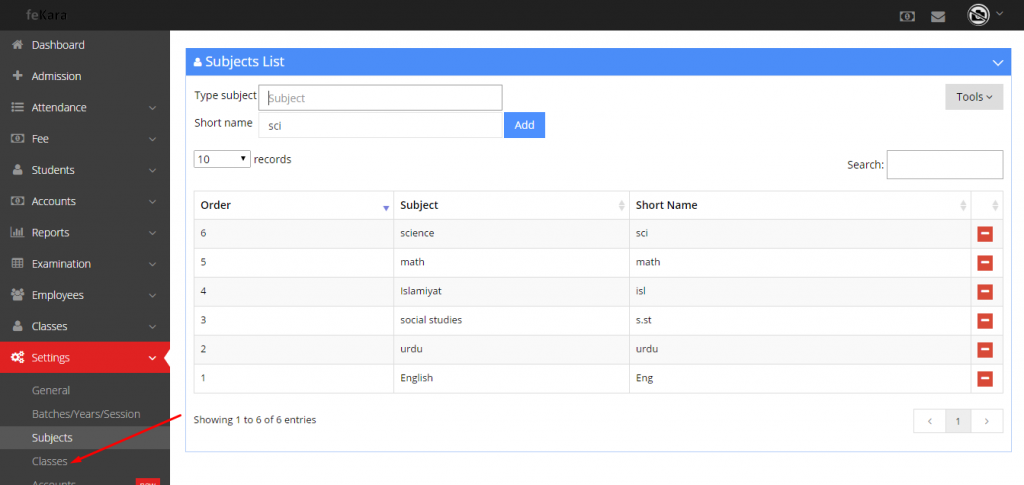
- a list of your institutes’ subjects will be created.
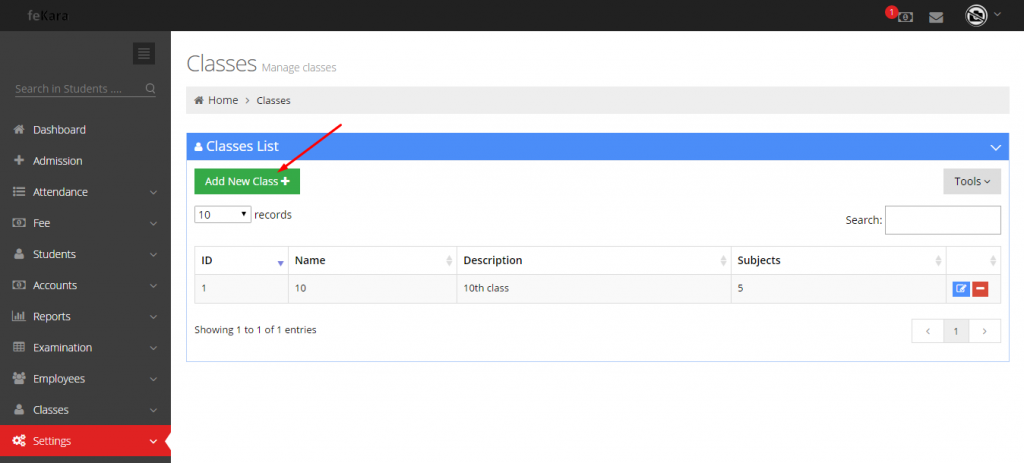
Add classes of your institute
Now it is the time to add classes to feKara.
- click “settings”
- click on to “classes”

- a class list will appear (which will have no details in the start)
- click on “Add new class”
- add details related to this class.
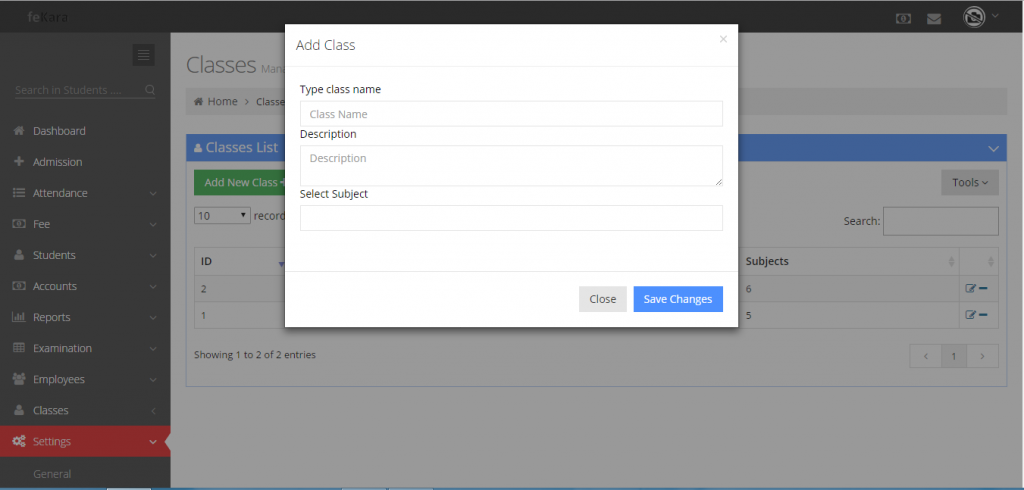
- add its name ad give it a description.
- then add subjects from already entered subjects list.
- make sure to add only required subjects.
- click “save changes”
- you can continue to add up classes as per required.
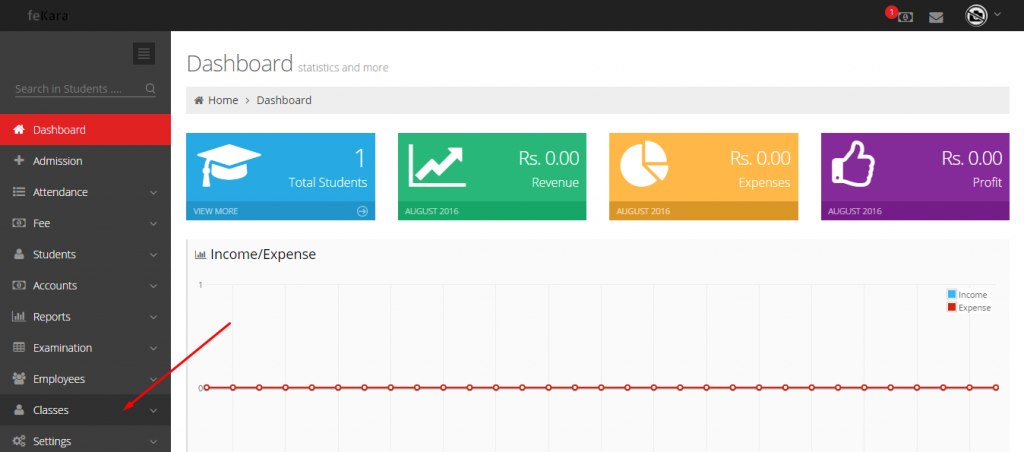
Adding classes to current academic year
Remember, admission are always made to the current batch. For updating your current session, you need to add classes to it. For this, follow the steps given below:
- click on to the “classes” above settings label.
- now click the batch/year to which you want the classes to be added.
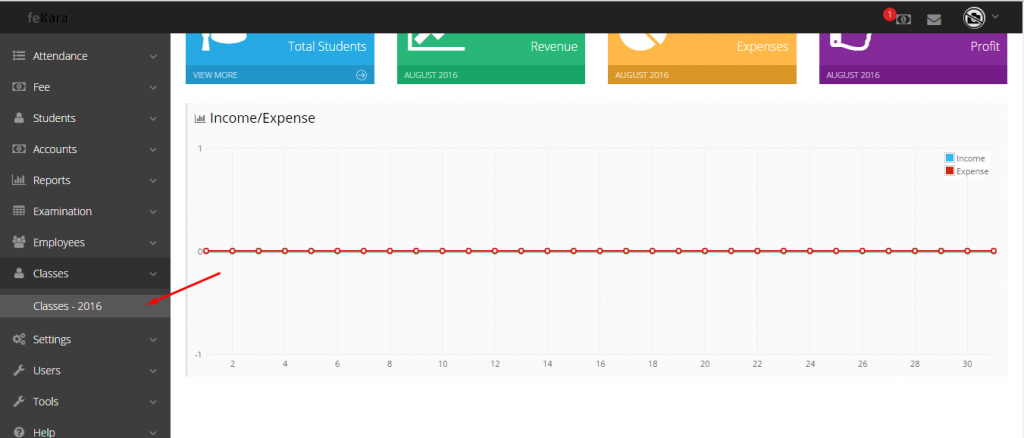
- it is the time to add data of the class including name, batch, active session and its subjects.
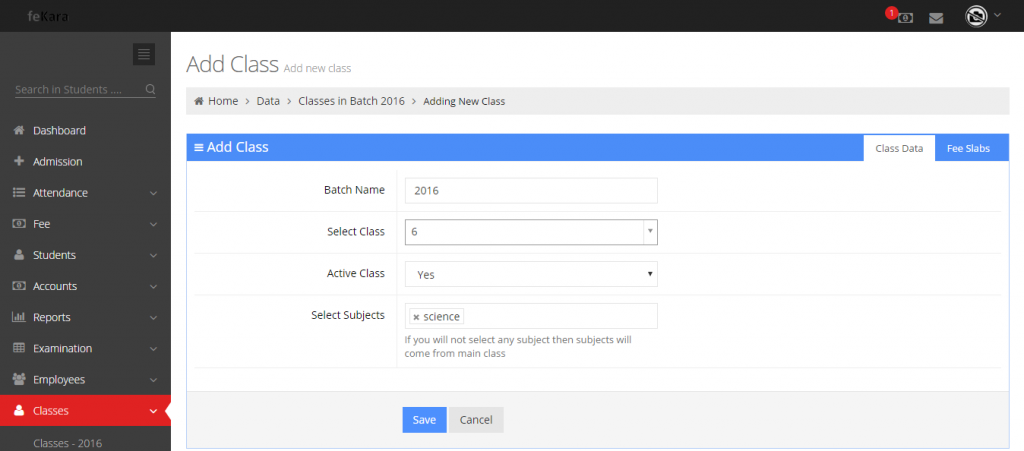
- after doing all this click on the “fee slab”

- edit the student and admission fee for this class.
- this will be a generalized fee, you can mention fee overriding for individual student if necessary.
- now click “save”
- your class will be added to your current batch.
These simple settings will allow feKara to accomplish your all tasks related to your school. Once you are done with them, a beautiful journey with feKara is ready for you to enjoy.